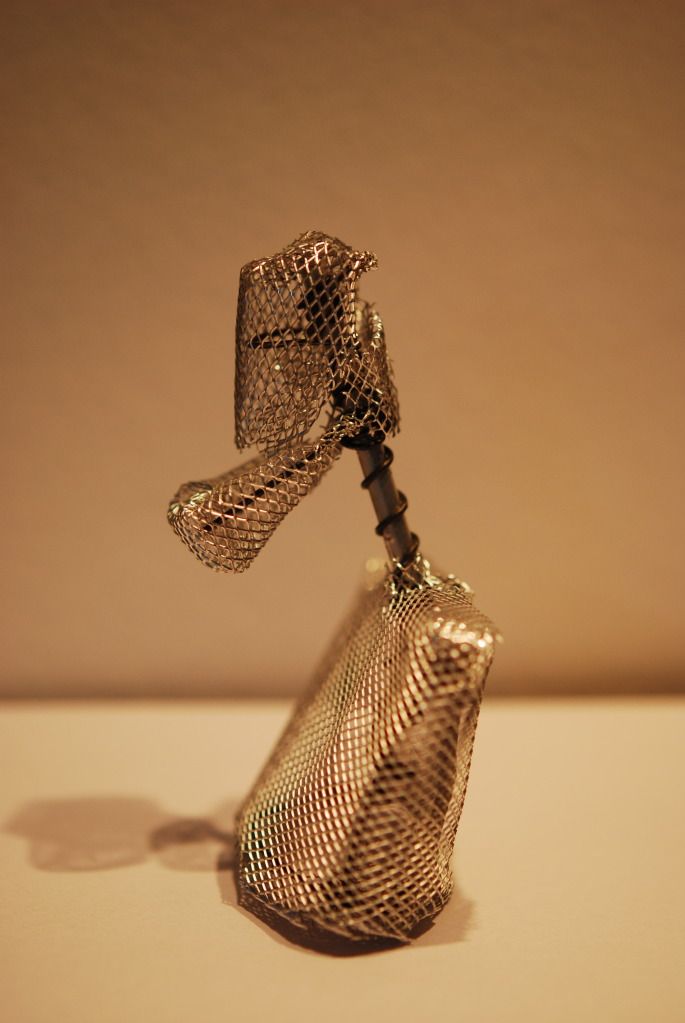
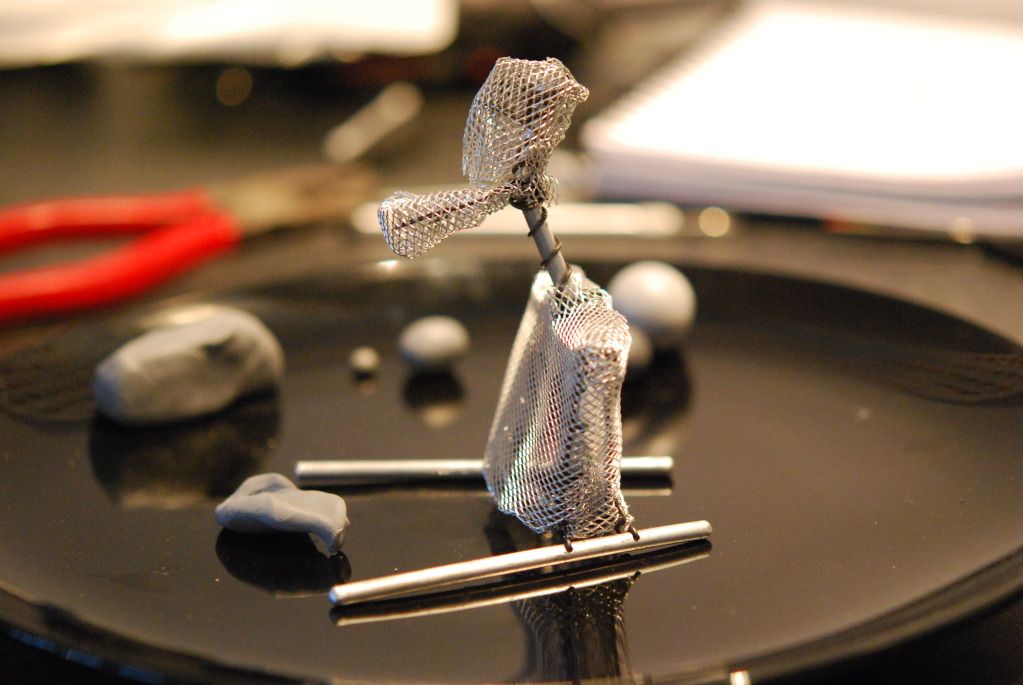
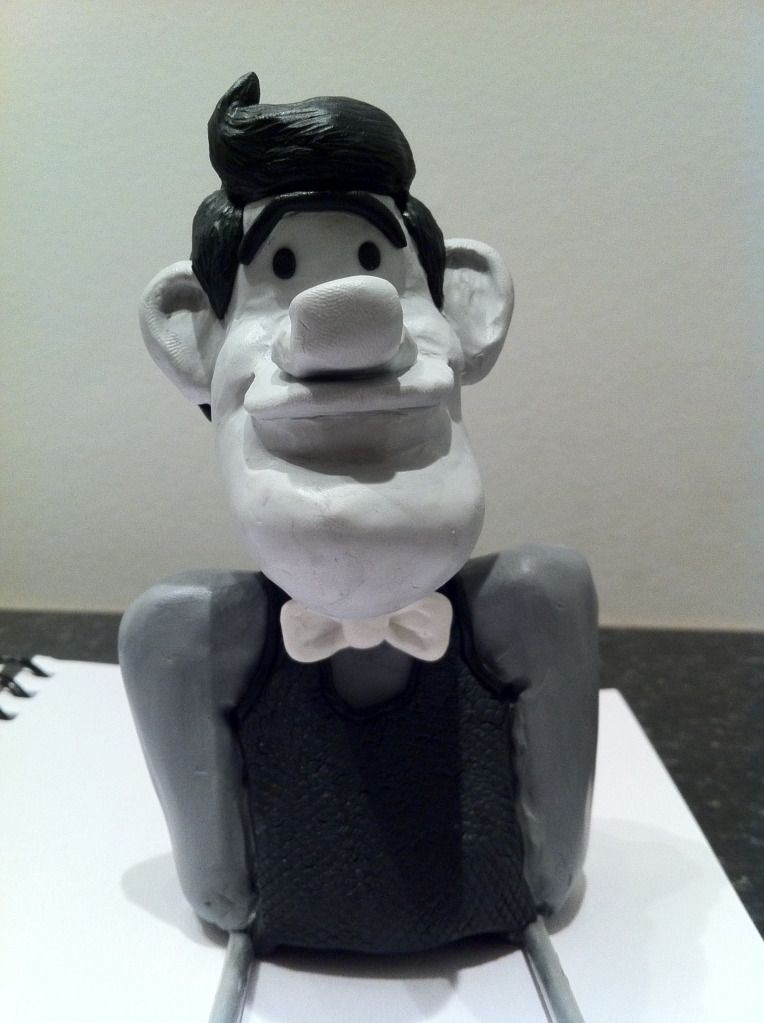
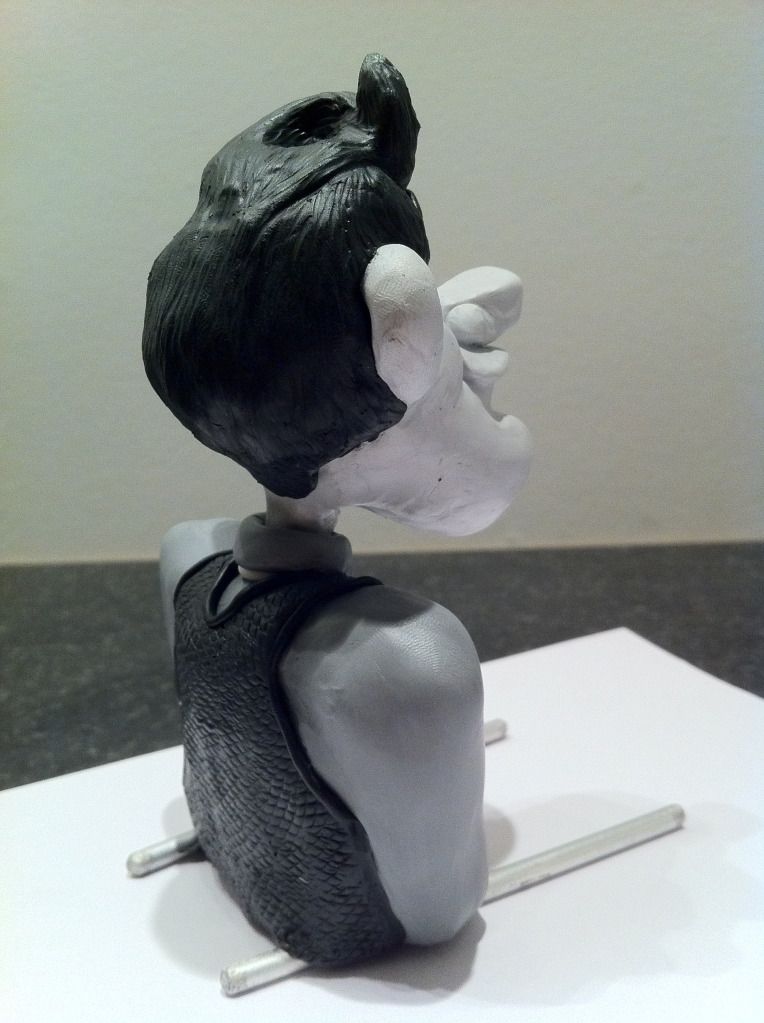
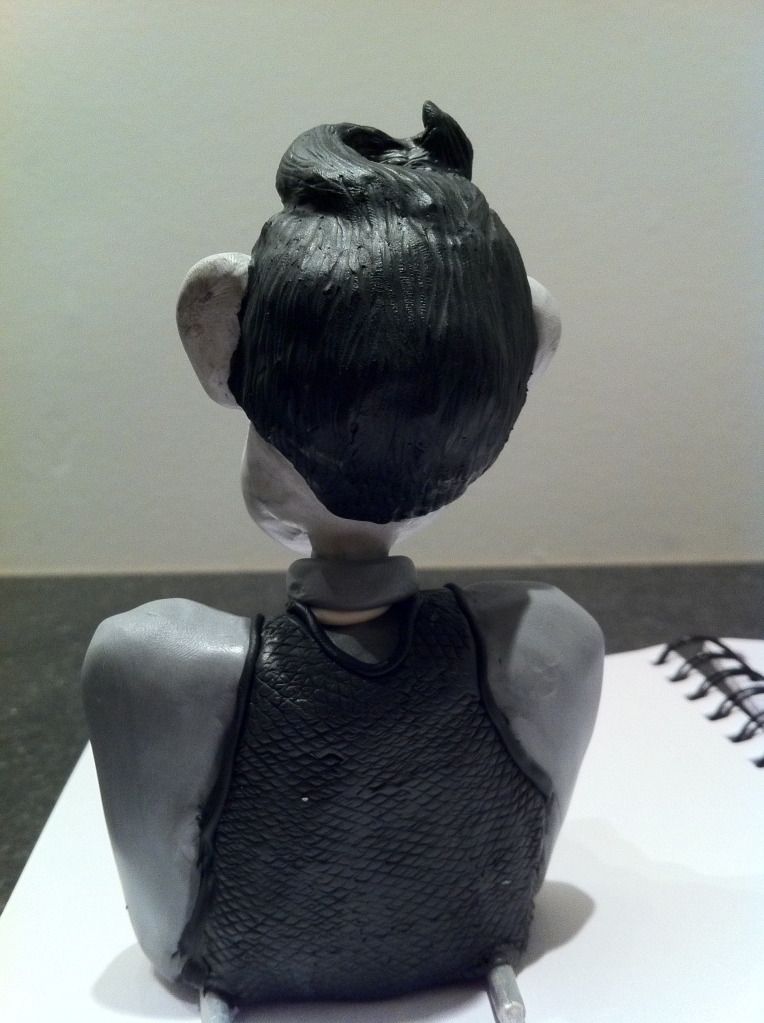
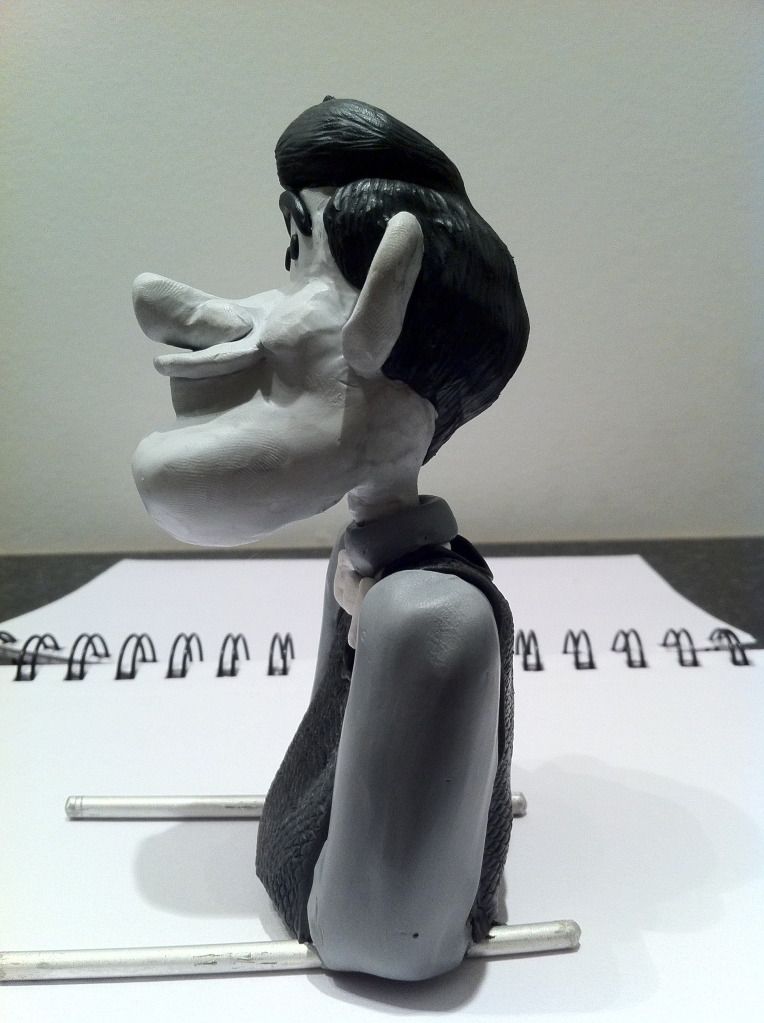
STEAMPUNK KUNG-FU FIGHTER
• 18+
• Time Machine
• Murders from around the world
Murders unsolved from London
• Jack the Ripper
• Known murders never solved from 500 years or so
• Time After Time 1979
• Jules Verne
• H. G. Wells
• Kung-Fu sidekick to the Hero
• Villain using his own steampunk inventions to murder people
• He/she likes to use barbaric tools because he/she likes that it mangles the flesh
• Female Villain - Jack the Ripper actually Jaclyn the Ripper
• Time Machine - 20th Century to have Sex change so he/she could never be traced
• In the beginning he gets beaten up by villain, in steampunk time, decides to learn to defend himself, his washer woman (chinese) 'I can teach you Kung-Fu, montage of learning Kung Fu -
Englishman Hero, Jaclyn the Ripper, Round chinese washerwoman sidekick
•Thinking of how to make a Time Machine
• Walking down streets of East London
• Sees the silhouette of Jack the Ripper
• Tries to stop the gruesome murder but gets kicked and beaten himself
• Ripper takes ID / Wallet incase he saw too much
• While Hero at home recovering he finds the eureka moment for the time machine
• Washer woman says he should learn Kunf-Fu
• He should write Time Machine instructions down incase he forgets due to head injury or memory loss
• Jack the Ripper goes to his house to finish the job
• Finds Time Machine
• Goes through different times to murder people
• Hero has to make another machine to find Ripper
• They chase each other/ hero chases Ripper through time to stop him/her killing or Ripper tries to find hero to kill him off so he/she can carry on uninterrupted