

Figure 01. Rough Composite with the wall and a grey sky.
This post is a breakdown of the stages I went through to create the wall in figure 01. There is still more work to be done to blend the components so that they work together smoothly but this is how they look at the moment. There is also a grey sky in the background as a temporary .
This post is a breakdown of the stages I went through to create the wall in figure 01. There is still more work to be done to blend the components so that they work together smoothly but this is how they look at the moment. There is also a grey sky in the background as a temporary .
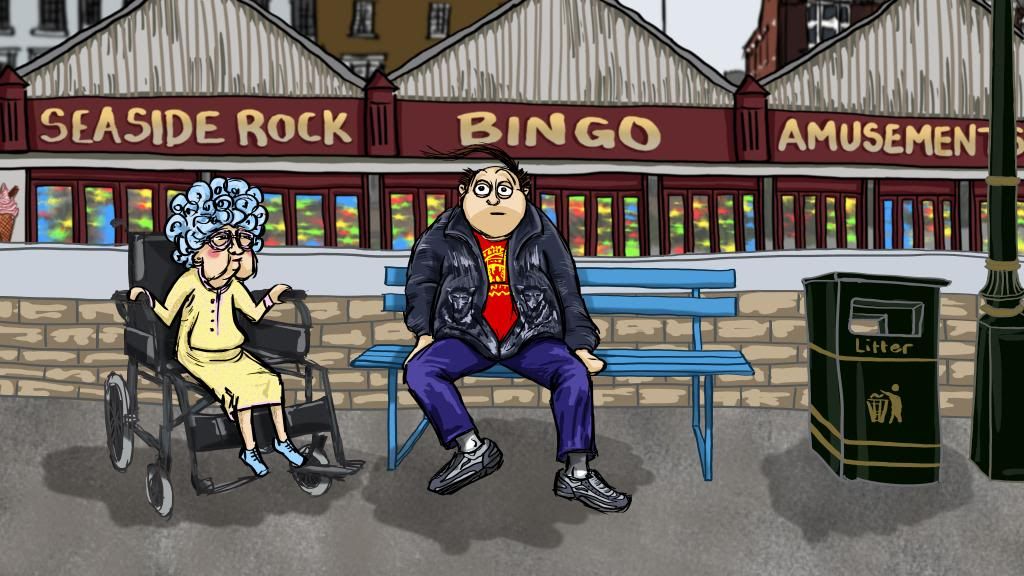
Figure 02. Concept Art
I've included the concept art to show how the comparison between concept and how the production is coming along.
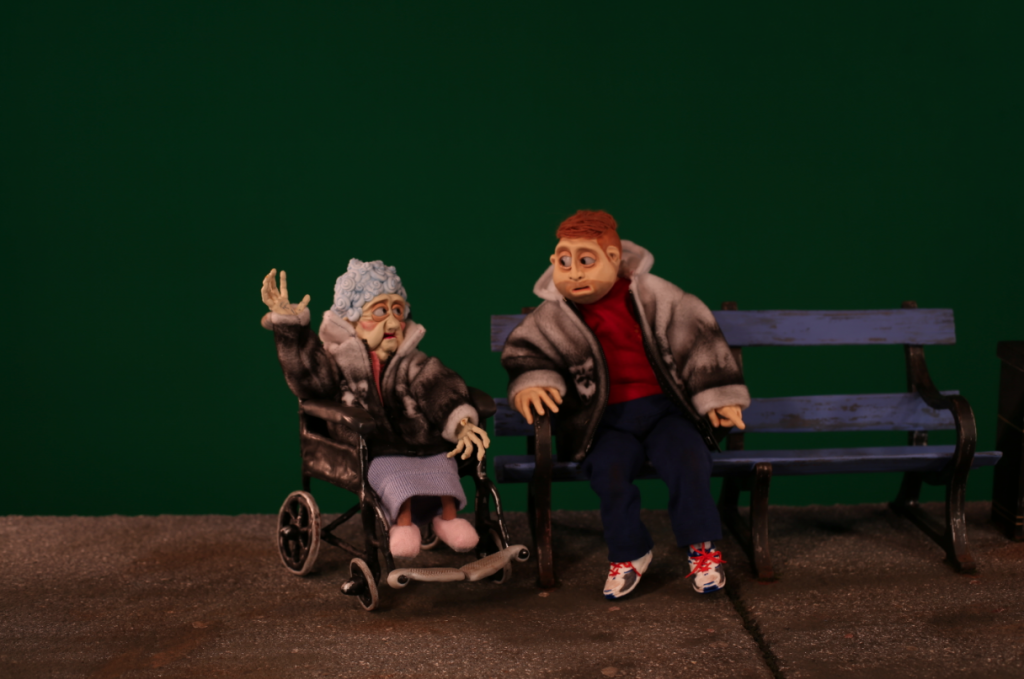
Figure 03. Original frame from the animation.
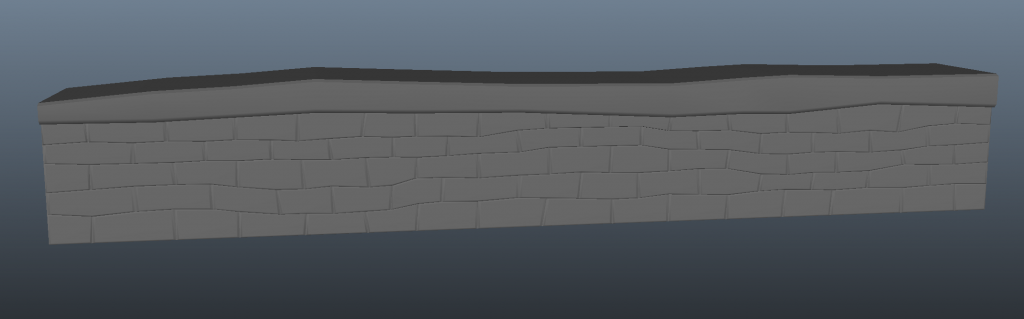
Figure 04. Wall built from a polygon primitive cube in Maya.
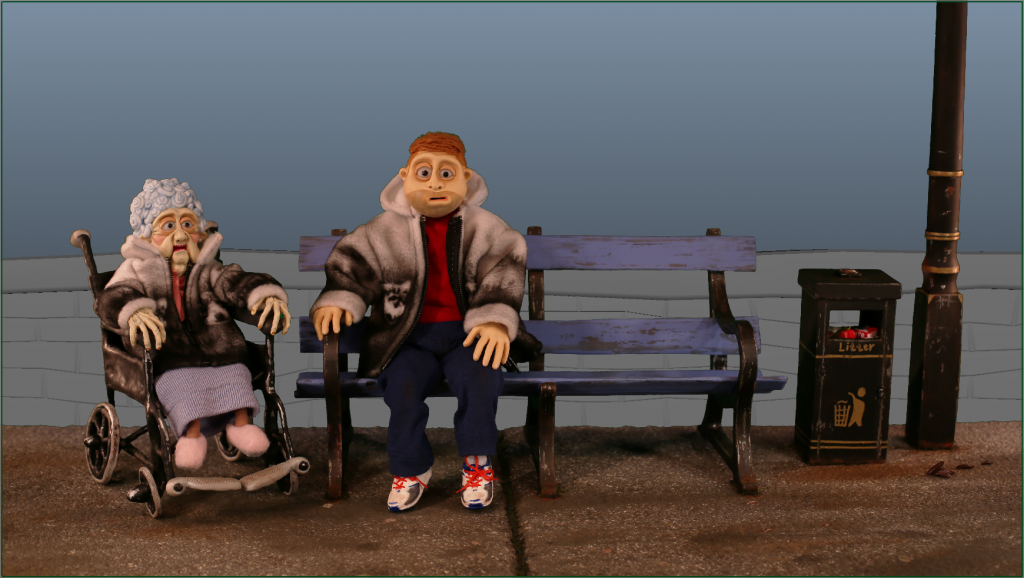
Figure 05. png image plane with the wall to test scale.
I used a still from the animation with the green screen removed as an image plane so that I could make sure the wall looked right with the scene.
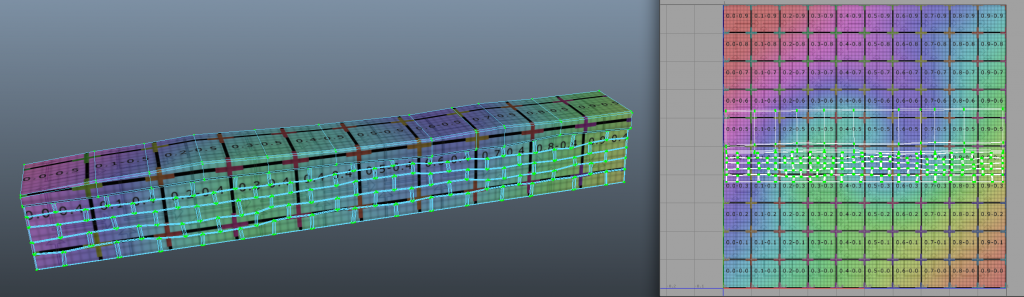
Figure 06. UV's mapped out ready for texturing.
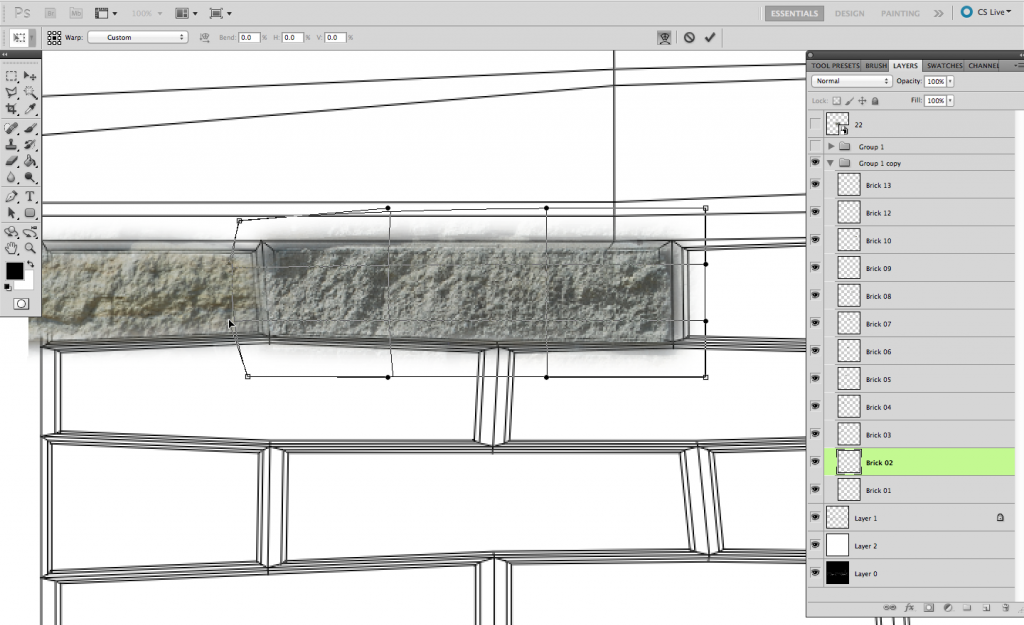
Figure 07. Laying the bricks.
For the texturing, I decided to do all of the bricks individually. This is because of the style I had chosen where the bricks are odd shapes and sizes, a normal high resolution wall texture photograph would not suit the proportions of odd shapes. I added the texture to each brick, layered in the cement between them and added a stone texture for the top section of the wall.
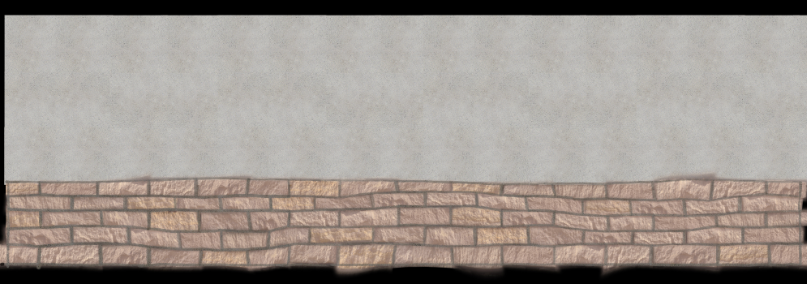
Figure 08. Initial Texture.
This is how the first texture turned out. Of course all realistic textures need some kind of dirt and grime, but first, I make a plain one to test it in the scene and learn where the grime and dirt would accumulate.
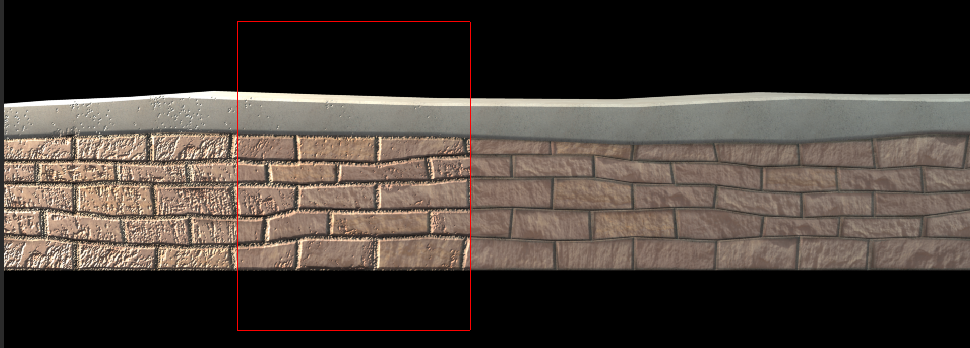
Figure 09. Trying out bump maps.
Here are a few different rendered sections to try out bump maps. I ended up changing the lighting from area to ambient and the bump map worked a lot more subtly, just how I was trying to make it.
Figure 10. Final Bump Map - yes there is something there :)

Figure 11. Attaching the ambient occlusion node to the texture .

Figure 12. Wall with initial texture rendered out.
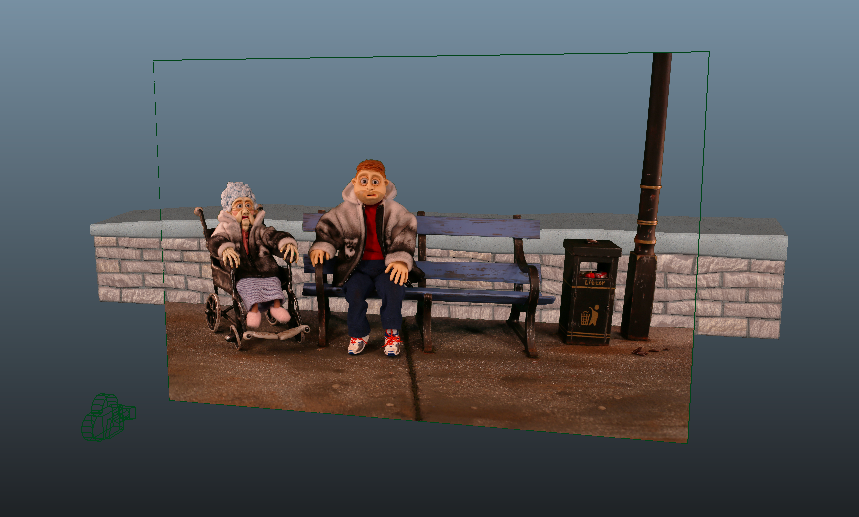
Figure 13. Showing the wall behind the characters with the 'clean wall' texture.
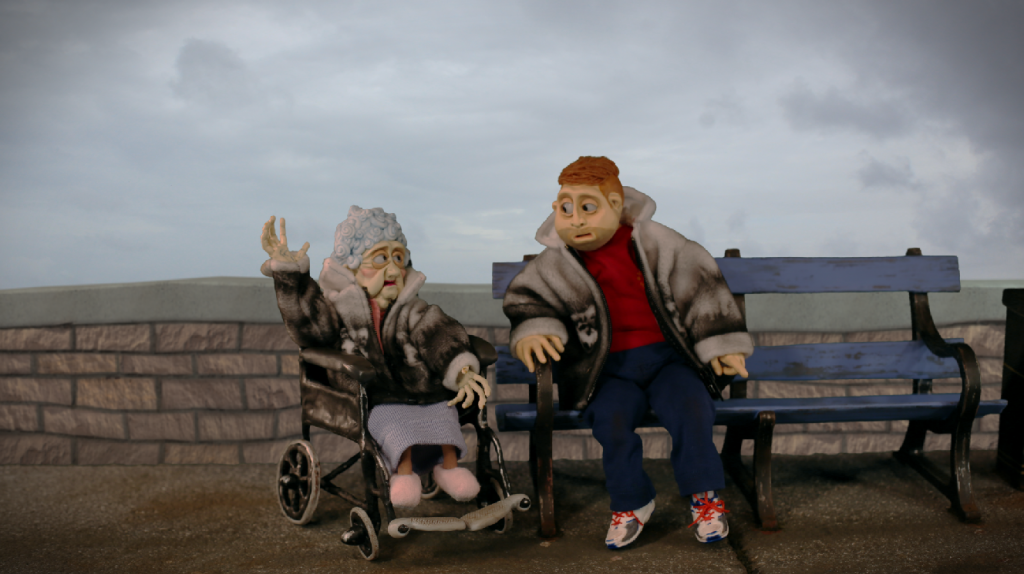
Figure 14. Testing the first render out with the characters and a temporary sky to fill the background.
As you can see, they don't blend very well together, so this is where the fun bit comes in....
Adding grime!
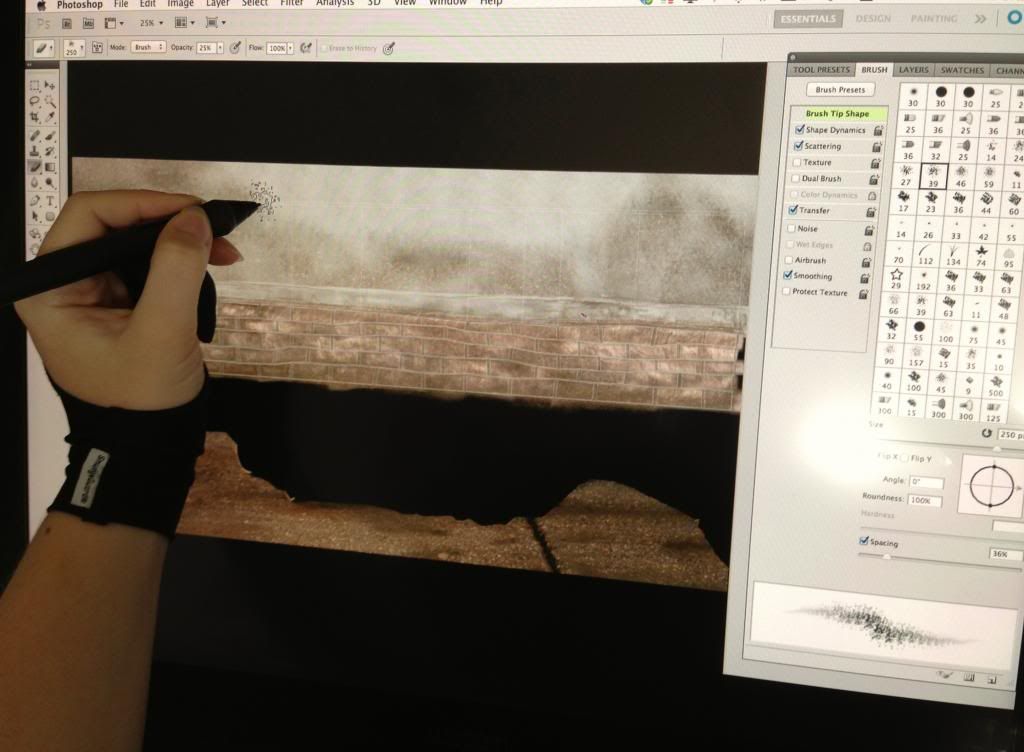
Figure 15. Painting in the grime in Photoshop.
To make sure the colours and textures work together, I took a cutting of the ground from the original frame and using the clone tool with a scatter, transfer and shape dynamic brush, painted on the grime in a few different layers, masks and shades.
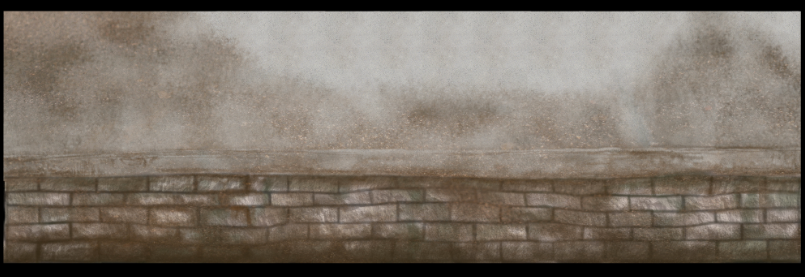
Figure 16. Final Wall Texture.

Figure 17. Final Wall Front Render.
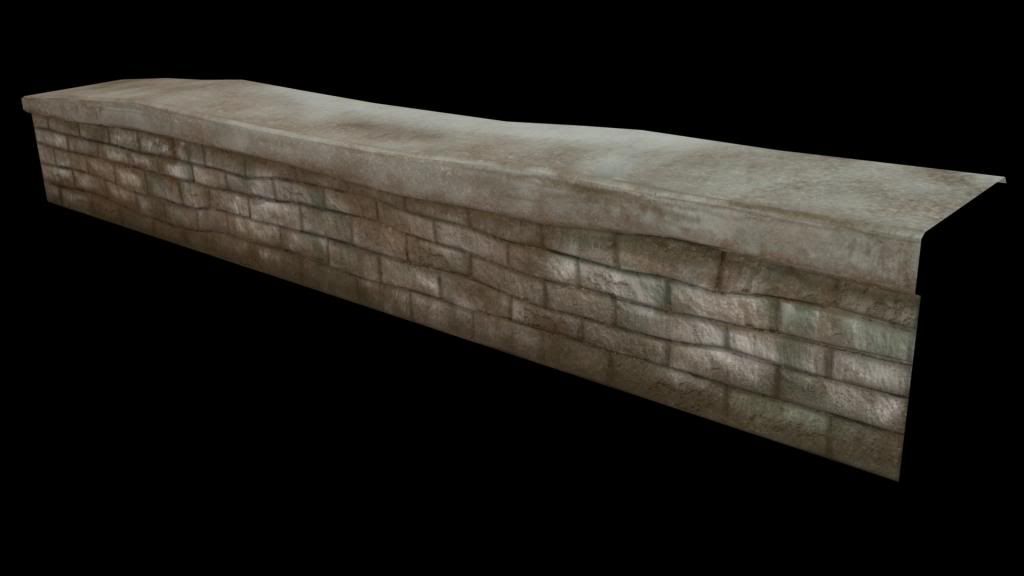
Figure 18. Final Wall Side Render.

Figure 19. Final Wall Lower Render.
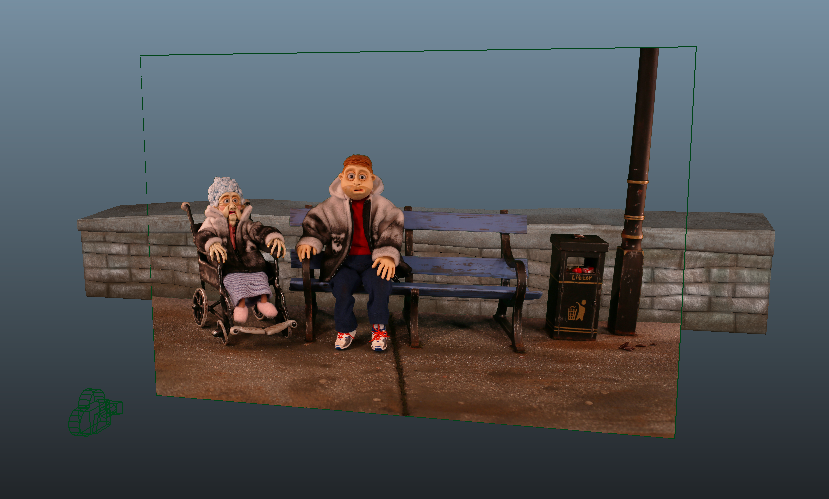
Figure 20. Wall with grime behind the characters in Maya.
Figure 21. Rough Composite with the wall and a grey sky.
By using the samples from the floor section, it made the two sections blend together better.
There are still more things to incorporate into the scene such as the background buildings, more shadow on the wall behind the bench and some moss where the wall and floor meet as well as other tweaking with the look of the film such as a bit of film grain, but for now, this is how it is looking.
No comments:
Post a Comment